Don’t you think Easter chicks and bunnies are just about the cutest things in the world? The little yellow fur on the chick popping out of their little egg shell. The furry bunnies hopping around the garden. Spring is here and the air is beautiful and crisp.
Have you decorated your house for Easter yet?
Every year we have an Easter wreath hanging on the door. One year, a little robin came and made a nest out of it. It was the perfect symbolism of Spring and life (major mess included!), and an absolutely wonderful experience. This was back in the US when we lived near the woods in Connecticut.
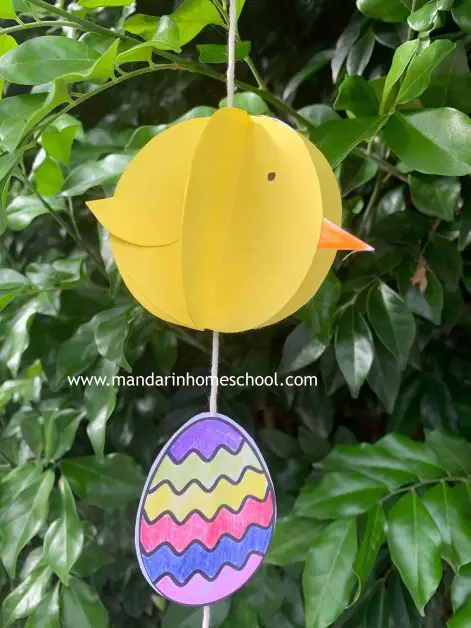
This year, we are making cute pastel coloured chicks to commemorate Easter.
It’s an easy and cute craft that young children can do on their own, with basic art materials and stationery.
Mandarin Homeschool is reader supported. Please note that when you click on the links in this post, we may earn commissions for purchases made, at no cost to you. Thank you.
What you need for the Easter chick craft
You will need:
- Template Printable (Free to download on the Mandarin Homeschool Freebies Page)
- Coloured paper – I’d go with yellow, pink and blue!
- Colour pencils/Crayons/Markers
- Scissor
- Glue (*Tip: Glue sticks will work better than wet glue)
- String or Ribbon (these Easter themed ones are so pretty!)
- Tape
Sign up as a member to assess the Easter chick template and more Chinese teaching freebies
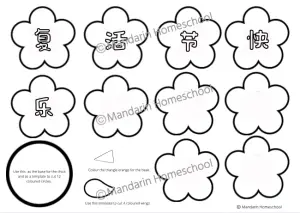
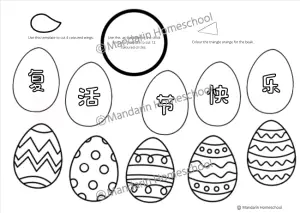
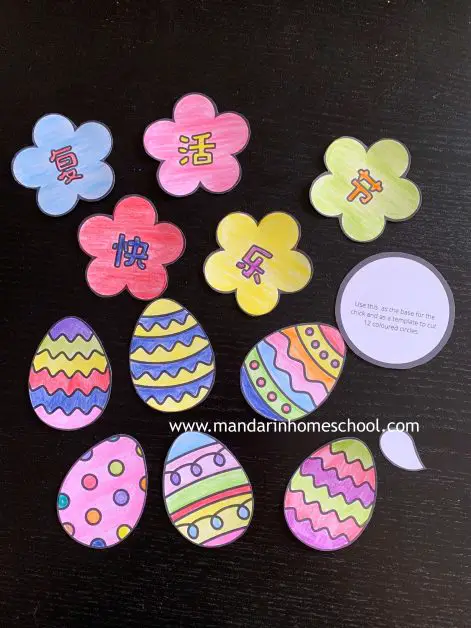
There are two versions to choose from: Easter eggs, or flowers. Make one or make both!
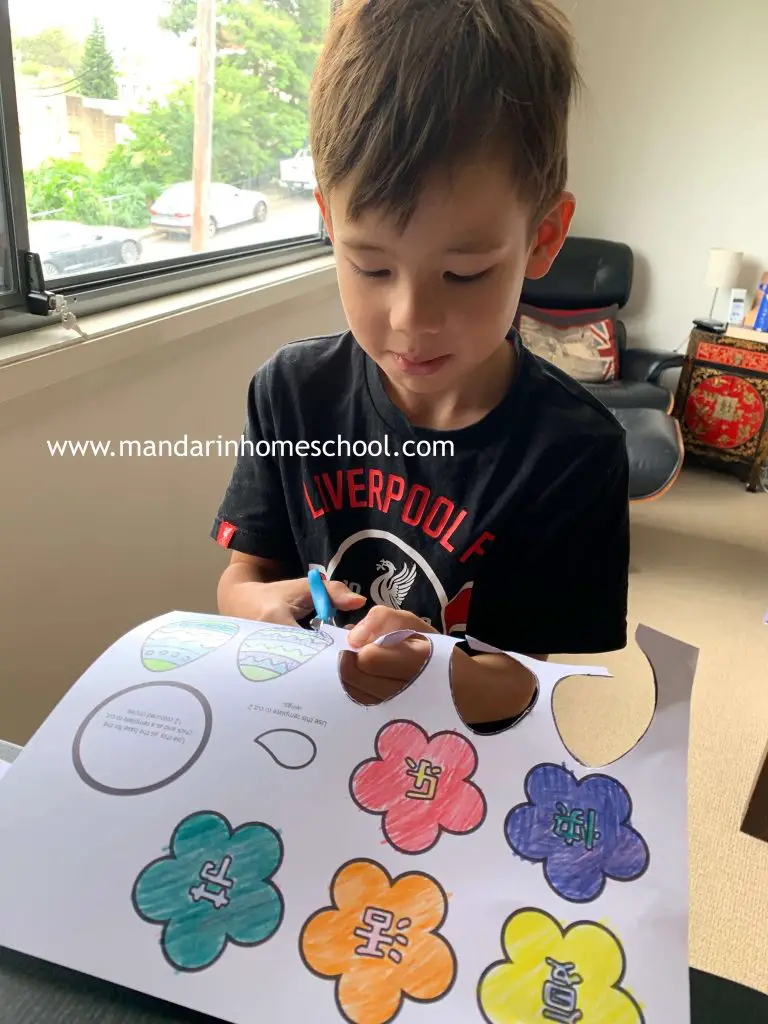
1. Print out the template.
2. Colour the flowers, beak and eggs.
3. Cut out the flowers, beak and eggs.
4. Use the circle template to cut out 12 coloured circles. (For very young children who hasn’t mastered cutting skills, you might like to do this step first)
5. Use the wing template to cut out 4 coloured wings.
This should all fit on an A4 sized paper.
6. Use the flowers as a template to cut out five flowers on coloured paper. (This is a good time to use up your scrap coloured paper!)
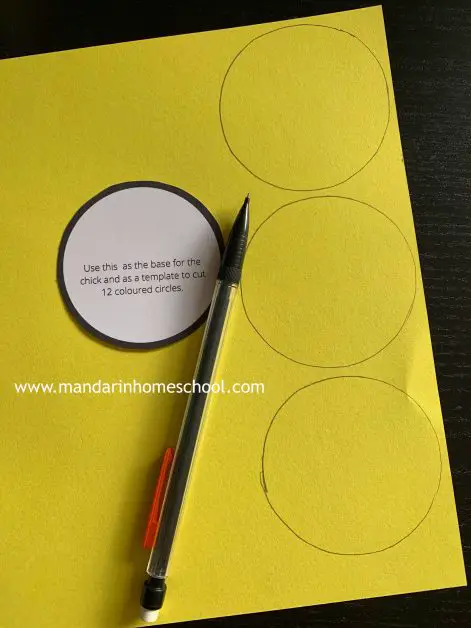
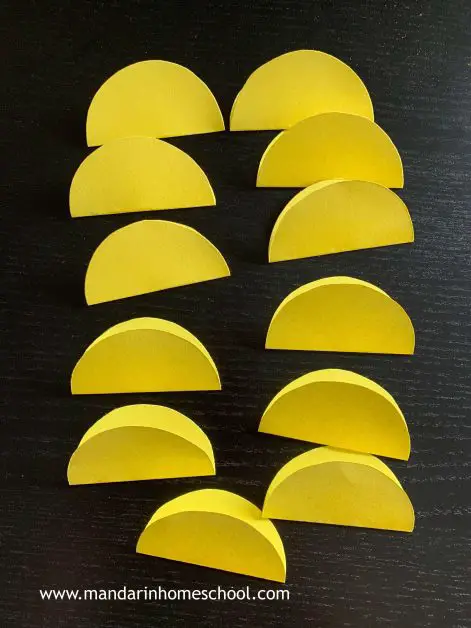
7. Fold the circles in half. (Looks like it’s taco time! 🌮Hee…)
8. Glue three of the folded semi circles together. You will need 6 circles per chick.
9. Repeat with the remaining three folded semi circles
10. Glue one wing on the middle circle of the three semi circles. Repeat on the other side.
11. Use a black pencil/marker to draw the chick’s eyes.
12. Cut a string 30 cm long. Make a loop with the string and tie a little knot about an inch from the top. Place the sting in the middle of the inside of the chick and tape it up.
13. Glue the beak on, just slightly under the eyes.
14. Glue the circles together.
15. There you’ve made your chick! Cheep cheep!! 🐥
For the Easter eggs
1.Glue two Easter eggs together with the string in the middle. One side with the Chinese character, and now with the pattern.
2.Repeat for the remaining four eggs.
For the flowers
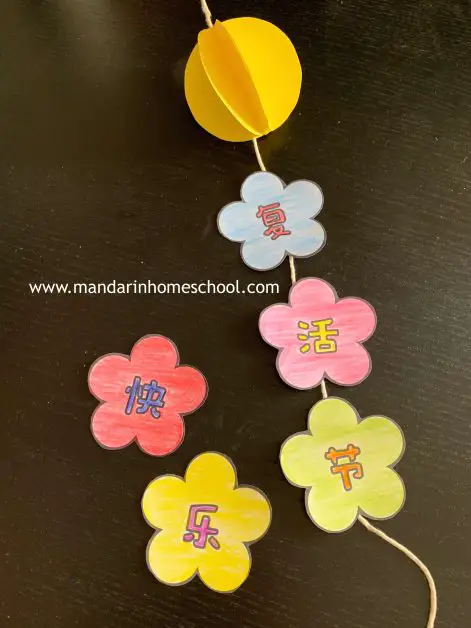
1.Glue two flowers together with the string in the middle, one flower with the Chinese character, and one plain coloured one.
2.Repeat for the remaining four Chinese characters.
Remember it’s Happy Easter, 复活节快乐。 Don’t get the order wrong!
It looks so colourful, doesn’t it!!
Ta daaa! And you’re done. What a cute little Easter decoration you have made!
Please share with me here, or tag me on Instagram/Facebook if you have made this. I would love to see your Easter chickies. 🐣
More Easter teaching ideas
Wondering how to teach your children about Easter in Chinese? Here is the everything you need to know about Easter: books, videos, crafts, activities, teaching resources, colouring books. Everything!
